So this is one of those "after the fact" posts. I just presented this song this past Sunday.
So at this point, I can interject "It went GREAT!" And the posters have been dutifully stored to use for next year (it really was fun).
This time last year: I had just been called to this position and had been serving as the music leader for about 5 or 6 weeks. We had just finished our program. And I was really confused as to what to do next. And then I found the music leader's secret weapon:
Singing time blogs! And it was a glorious moment indeed.
I found
Camille's Primary Ideas and saw her
Children All Over the World post. And I SO wanted to do it. I am not positive, but I might have even bought poster board. But it just didn't pan out.
So, in my attempt this year, I decided that even though I couldn't post templates (because as how Camille did it, I did draw them by hand using her pictures as a guide), I could go through it and post some of the steps I took in making these.
As Camille said " I won't lie, they were kind of a bear to make but that may be just because I'm somewhat of a perfectionist."
I am most definitely NOT perfectionist and it still took me 3 1/2 hours to do all 6. That was with very limited interruptions (thanks to school and Team Umizoomi - I will admit - that t.v. can be a great babysitter sometimes). I second guessed myself on the width of the arm of the first one I made and the left arm is ridiculously larger than the right, but I still didn't change it and
no one noticed. So, I'm just going to stay mum on that subject.
I began by printing out each one of Camille's pictures of her boards. That is actually the best advice that I can give someone attempting this, because they truly were the best help.
I started by going to the top of the poster board. When placed in a portrait position, the width of my poster boards was
22 inches. I measured out to 11 inches. At that point, I took my ruler and put
the two inch mark on the middle of my board. I marked two inches on each side
of the middle, and that became my neck hole.
I then measured about 12 ½ inches down on the side. I (not
until the last poster did I realize this trick) took a newspaper edge and made
a straight line from the right neck point to the right arm end 12 ½ inches down
the board.
At this point, I measured 12 cm down from the first arm point and
made my second line to make the underarm outline. I didn’t have a protractor or
anything, so I couldn’t tell you what degrees the arms slanted at or anything.
I just tried to make sure my underarm line was straight and didn’t angle
inwards or outwards
For the skirts and the sleeves for France, I free-handed one side with a pencil. I then used the marker to outline my pencil mark. I then took a blank piece of paper and copied the marker line
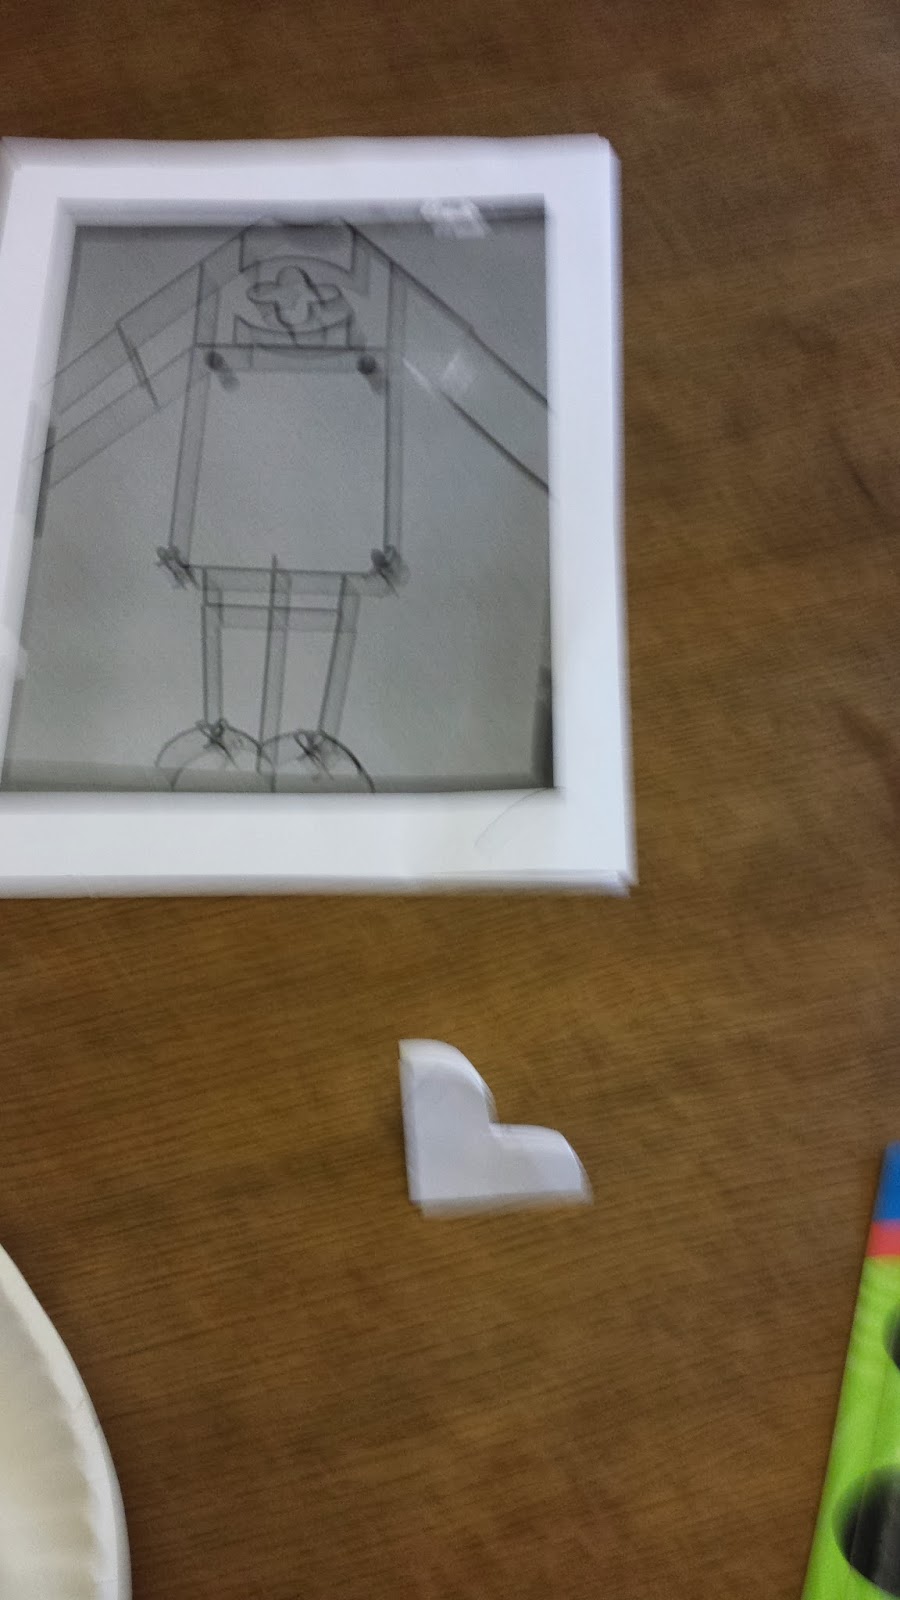
I thought that I could freehand the design in the German outfit easily, but was quite wrong. I ended up cutting out a template. I took paper and folded into quarters and even though the picture is fuzzy, I think you can get the gist of the shape from this pic. I also used a paper plate to trace the upper and lower parts of the top part of the overalls (or liederhosen, if you prefer)
I thought I was being uber organized by writing the foreign phrase, language it was and its placement in the song along with title and page number on each one.
Forgetting, of course, that then if I give the posters to the kids in senior primary that I can no longer make a game of "where does this one go and which phrase do you think it represents"
I did still do that, but the kids had to stay sitting and teachers held the posters as they guessed. If I had to do it over again, I WOULD skip this part
I Started with the Spanish one, which was the easiest. I didn't take pics of all of them, as Camille's pictures are much better than mine. But I will tell you, I switched the direction of the veins of the leaves on the sarong that were pointed down.
The French one by FAR was the hardest. But it ended up as my absolute favorite.
Of course, as aforementioned, it did take 3 1/2 hours. So even though Team Umizoomi occupied a lot of her time, I still had a fantastic mess to clean up.
But worth it! So much. My favorite visual aide so far